Behance is a common website where you can share your design. Owning a large number of Behance accounts can help you make your design or idea become popular. It will take lots of time in case you create multiple Behance accounts manually. Thus, you need a Behance Account Creator bot which can help you create a lot of Behance accounts with different IPs address at the same time.
MAIN FEATURES OF BEHANCE ACCOUNT CREATOR
- Create multiple Behance accounts from various sources of Emails (Gmail, Hotmail, Yahoo, etc.)
- Runs with multiple threads
- The software is easy to use
- Can use rotated proxy to run
- Frequently update
- Save time and cost
HOW TO USE BEHANCECREATOR?
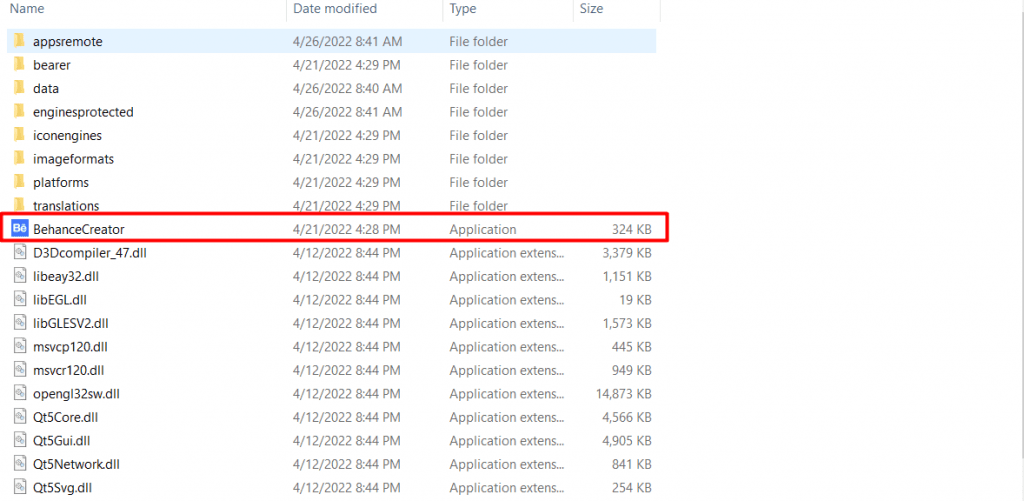
When you purchase BehanceCreator software, we will provide you with 2 links, consisting of software link and desktop useragent file link . Download both files and unzip the BehanceCreator.rar then run the BehanceCreator.exe to open the software.

Next, you enter the provided license username and password into Login and Password.
Click OK to login.


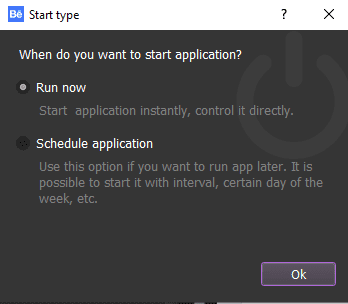
Then, you choose one of two ways:
- Run now: Run the software instantly
- Schedule: Schedule the application to run at specific time
>>Learn more: How to use Schedule Function.

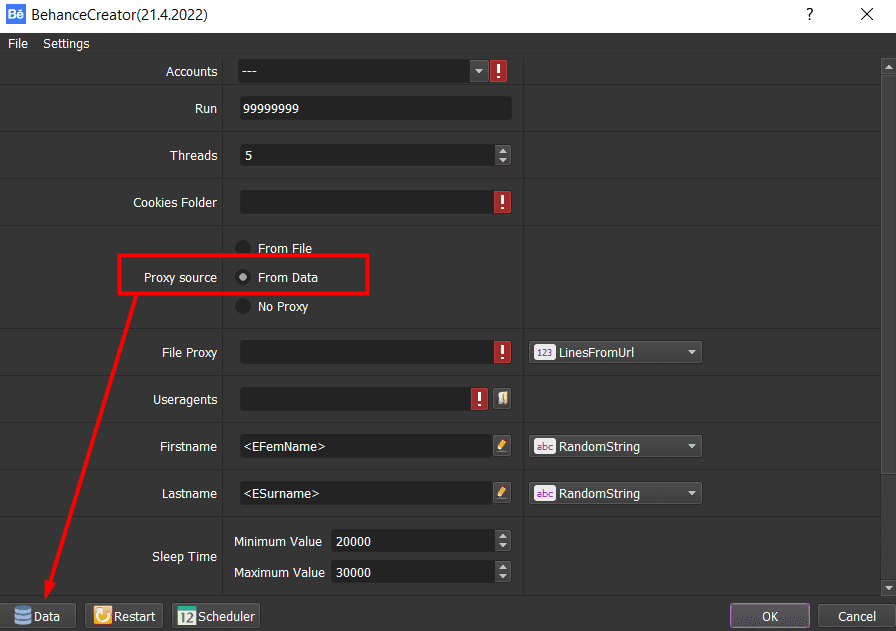
This is the interface of Behance Account Creator
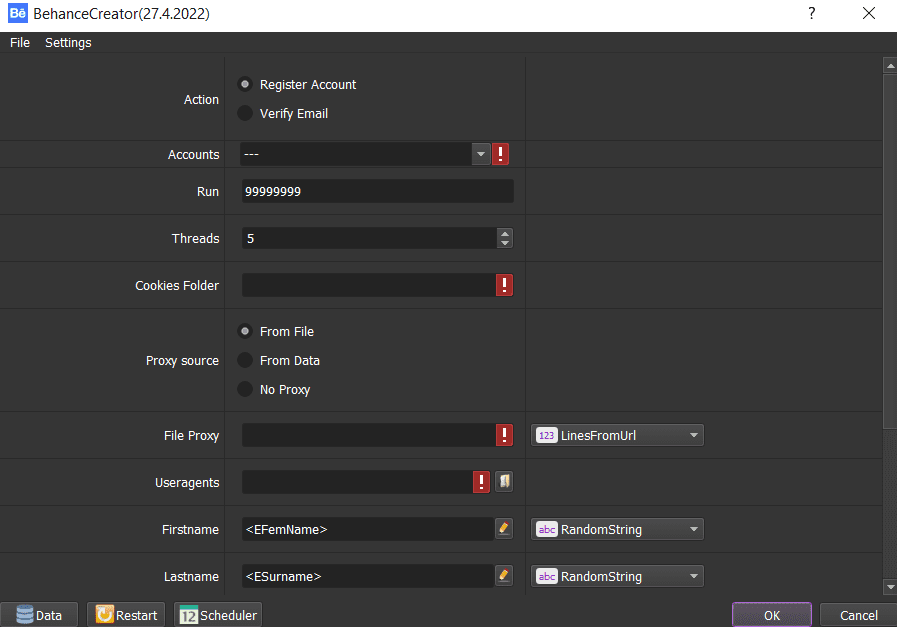

A. HOW TO RUN THE BEHANCECREATOR BOT?
A1. Action
Select one of 2 functions
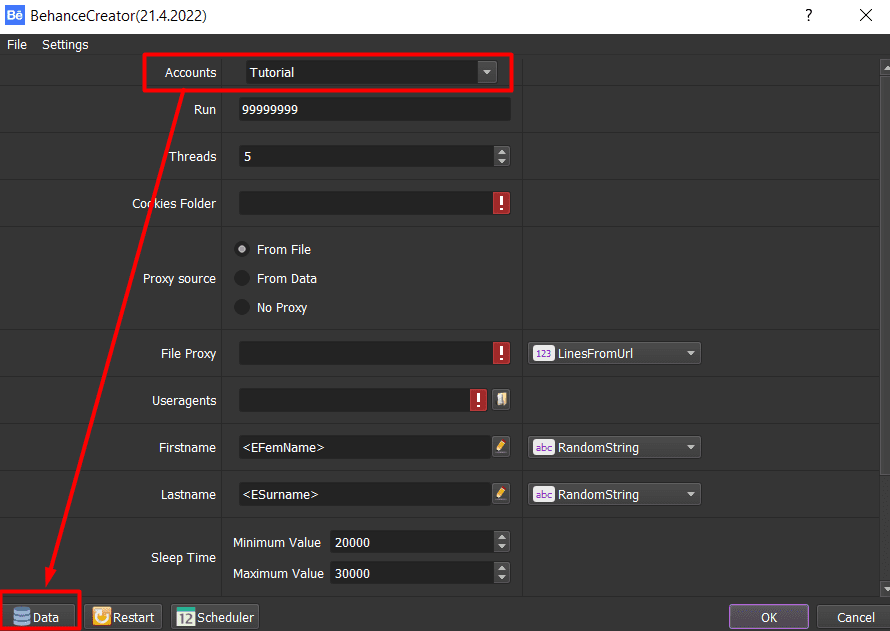
A2. Accounts
This section saves the Email accounts that will be used to create Behance accounts.
>> Refer to HOW TO IMPORT DATA to learn how to import data.

Note:
- You need to activate Imap/Pop3 for all email accounts before using them to create Behance accounts.
- The file which contains Email accounts includes: Email (Gmail, Yahoo, Gmx, Hotmail, etc.), Password, Recovery Email, Proxy (if any), Port (if any), Proxy Username(if any), Proxy Password (if any). You import data as the Template.
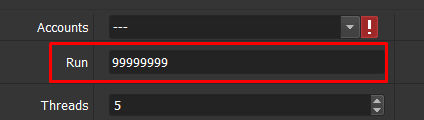
A3. Run
This is the number of times that you want the software to run. It is also the number of Behance accounts that you want to create. You can put number that you want or leave it as the default.
Note: If you put “99999”, the software will run continuously until you stop it manually.

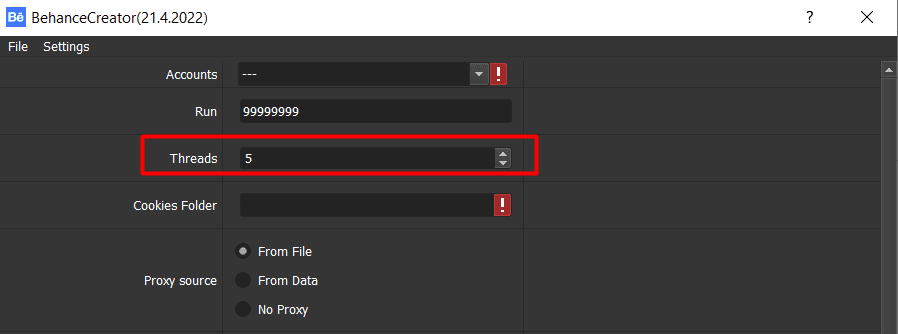
A4. Threads
Threads is the number of tabs that run at the same time, also the number of Behance accounts will be created simultaneously.
Each thread will open a separate browser which has different fingering and IP. Provide number of threads that complies with your computer configuration.

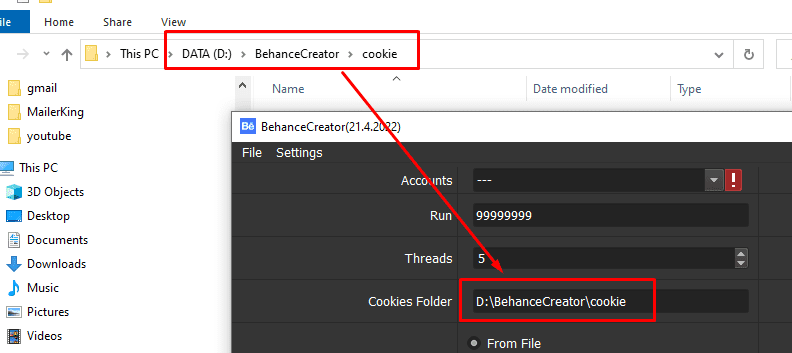
A5. Folder Cookies
Folder Cookies is a place where the software will store cookies and profiles of accounts. Software will use cookies and profiles for the next runs without logging back into accounts.
Create a new Cookies folder on any hardware disk that you want to save cookies & profile and get the path to put it into the setting as shown

A6. Proxy Source
You should use proxies to make sure the created Behance accounts will not be banned
>> You can rent safe and cheap proxy from this website https://saferproxy.com/
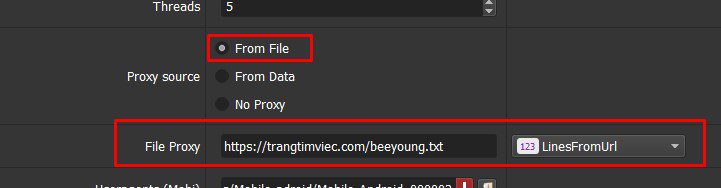
A6.1. From File
At Proxy Source, select From File
Next, at File Proxy section:
- In case you select Lines From File, you create a text file where you put the proxies per lines. Click on


- In case you select Lines From Url, you paste the proxy address link into File proxy section as shown

A6.2. From Data
At Proxy Source, select From Data
The software will use proxies that were imported with Email accounts. Please refer to A1. Accounts section to learn how to import data into software.

A6.3. No proxy
At Proxy Source, select No proxy
The software will use the IP of your computer to create Behance accounts.
Note: If you create too many Behance accounts on the same IP, your Behance accounts will be banned.
A7. Useragent
You need to download the useragent file that we send when you purchase the software. Click on ![]()


A8. First Name and Last Name
There are 2 choices for you to opt:
- Select RandomString at Firstname and Lastname, the software will create Behance account with First Name and Last Name as default. Click on


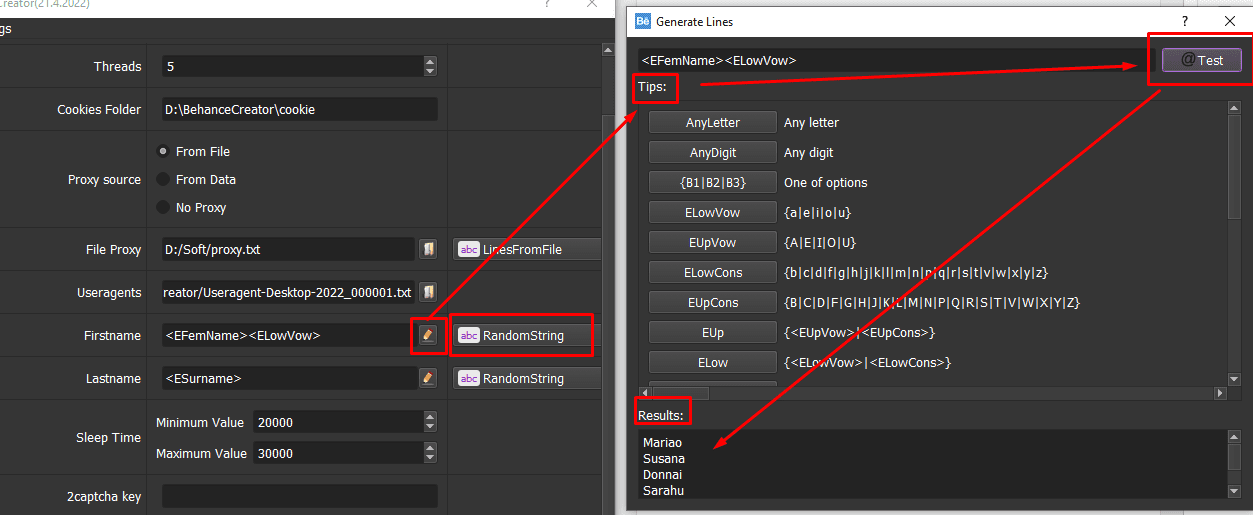

- Customize Last Name and First Name: You create a text file which contains names of Behance accounts that you want the software create. Next, select LinesFromFile at Firstname and Lastname. Then, click on


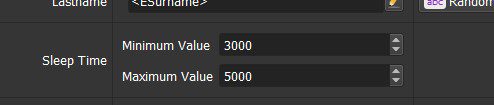
A9. Sleep
Sleep is the range of time among run turns.
Note: Unit is Milliseconds (Ex: 50000 = 50 seconds)
Example: After finishing running one turn of threads, the software will delay in 3-5 seconds before performing the next turn of threads if you set up as shown

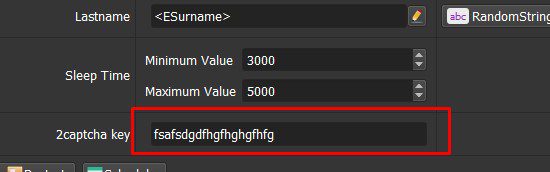
A10. 2captcha key
First, you create an account on 2captcha.com
Next, get the 2captcha key and paste it into the 2captcha key section

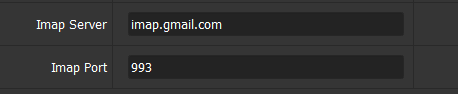
A11. Imap Server and Imap Port
You need to import Imap Server and Imap Port for the software to confirm email when it creates Behance accounts.

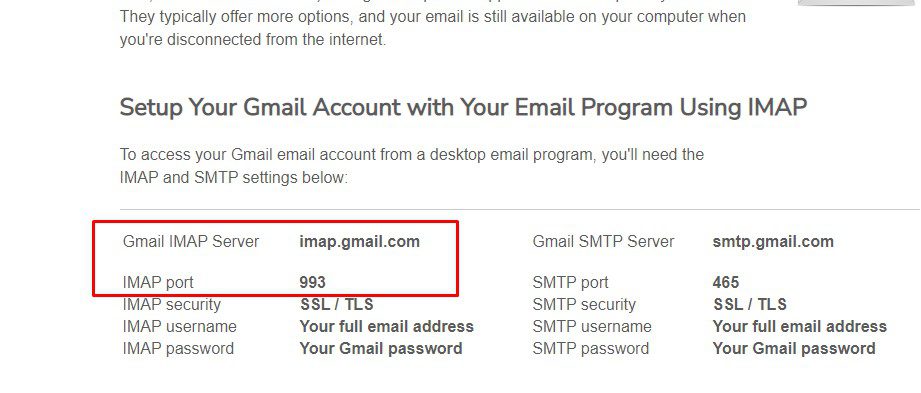
You can search on Google to take Imap Server & Imap Port of type of email that you imported.
For example:
- Imap Server and Imap Port of Gmail accounts.

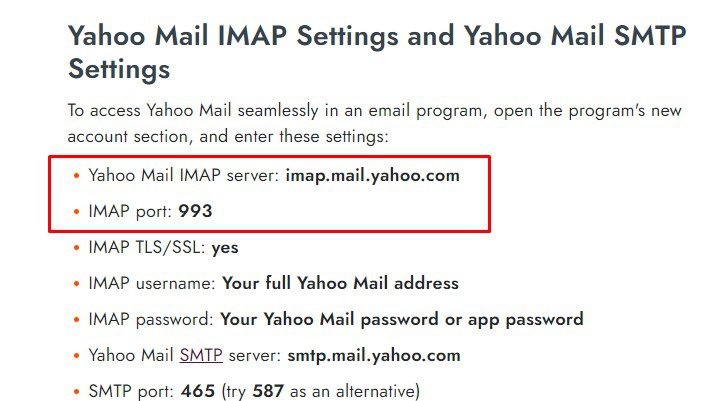
- Imap Server and Imap Port of Yahoo accounts.

Finally, you click OK to run the software.
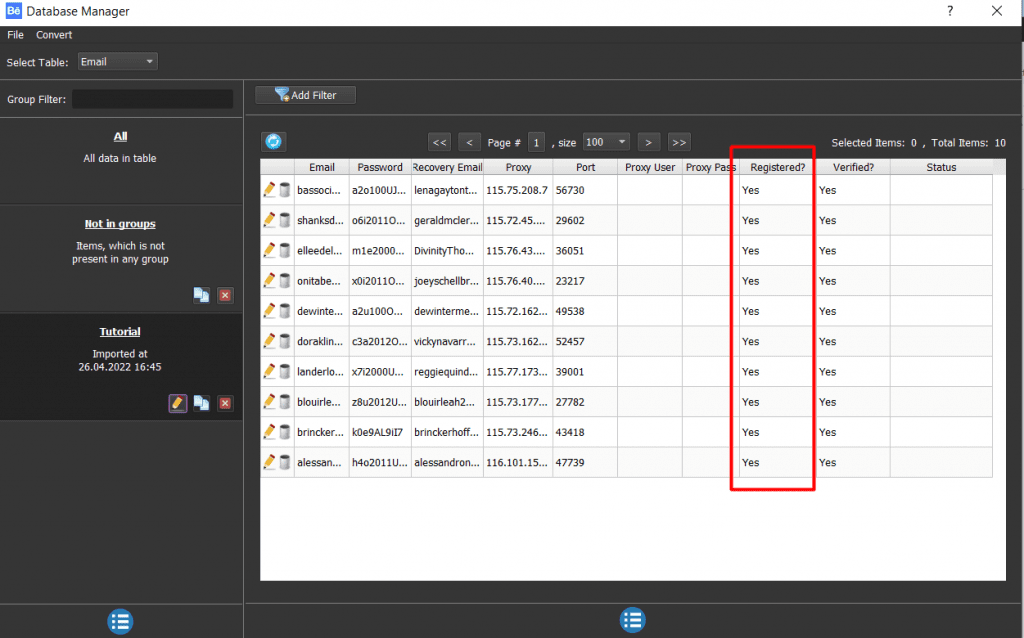
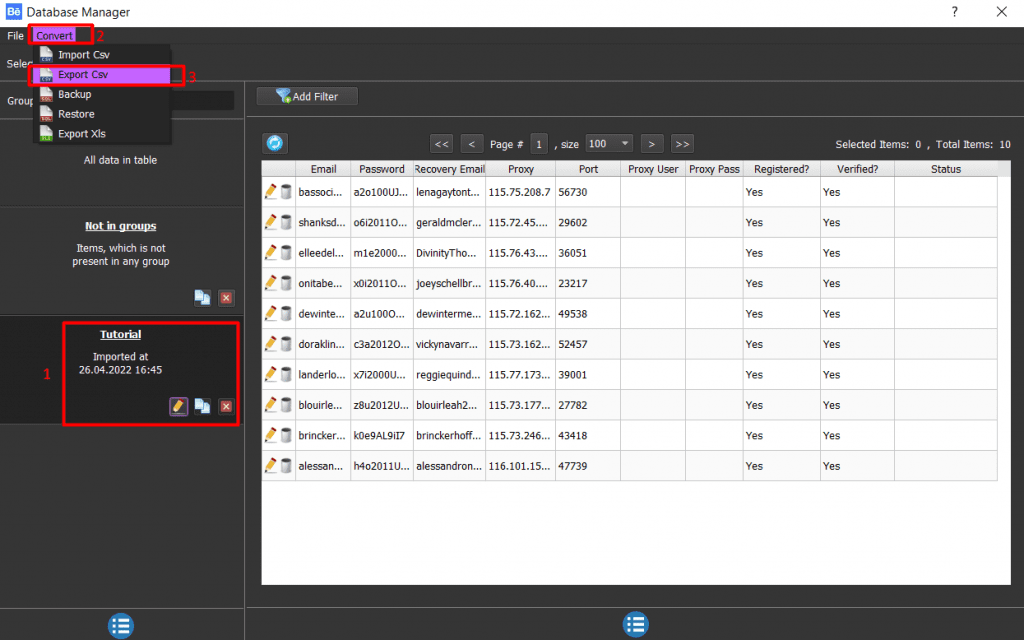
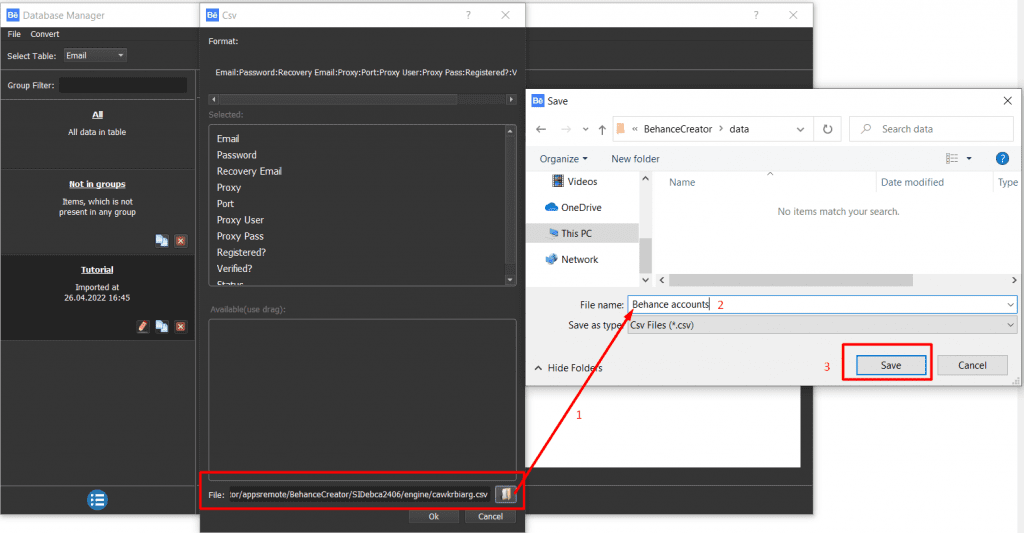
B. HOW TO GET RESULT FROM BEHANCE ACCOUNT CREATOR?
In the Database Manager dialog box, the software will automatically enter Yes in the Registered column with email accounts which had been used to create Behance accounts successfully.


Thank you for following this Tutorial, we hope it will be useful for you!
Tutorial Video
For more details, kindly contact us at Autobotsoft – Top Marketing Software